Slim Your Face (How to Contour)

Picture by: Glam_her_booth
People get very intimidated by the word contour. I am here to tell you that ANYONE can complete a flawless contour. My first time trying to apply a contour wasn’t the most perfect job but, by my fourth or fifth time applying, I felt like a professional. All you really need is some time to learn how to contour your own face and some handy-dandy brushes and foundation. The trick about contouring is enhancing the light and shadows on your face. This creates an illusion that your face has more depth, making you look slimmer.
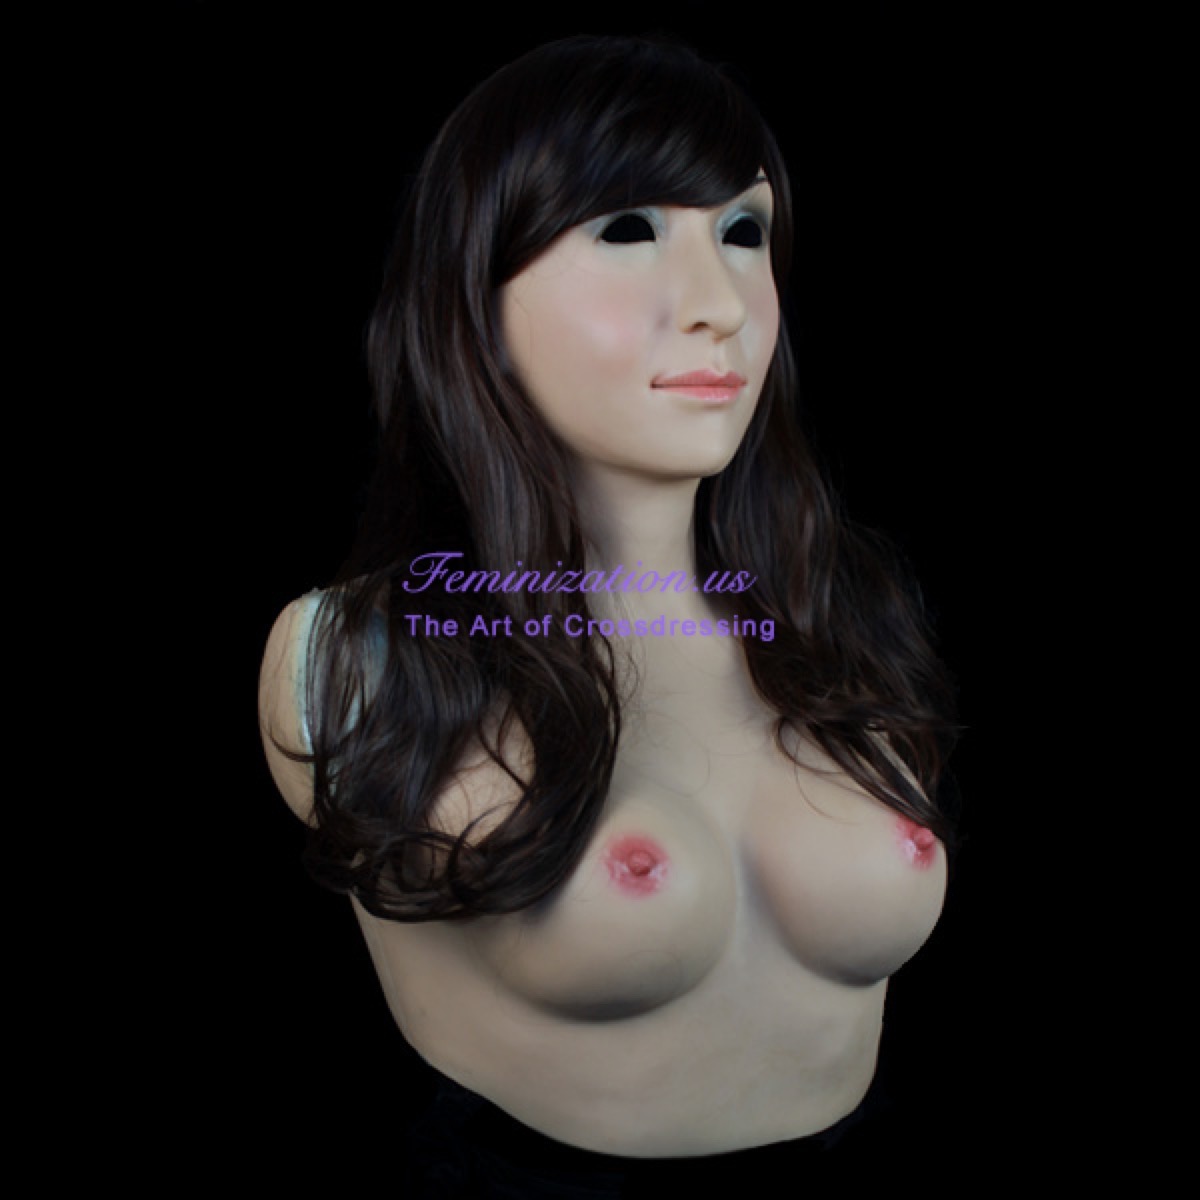
- Femask Breast Plate $620.00
This is made for crossdresser who would like to feel total enclosure! - The femask breast plate are very soft, strong and elastic, and they stretch to many times their original size without tearing.
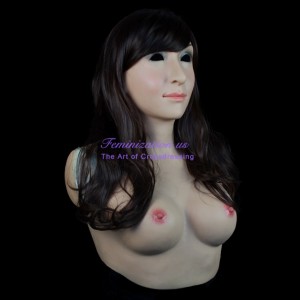
http://www.feminization.us/female-breast-suit-c-2.html
What can contouring achieve?
- Make your face look slimmer
- Make your nose look longer
- Enhance the look of your cheekbones
- Hide under chin
To Get Started:
Anyone trying to create a contour look, needs to have some specific supplies before starting any contour. First off, your colors: highlighter, and contour. Your highlight is your light color and this needs to be two times lighter than your actual skin complexion. Your contour color is your shade two times darker than your actual skin complexion. Make sure your colors are light and dark enough or your contour will just blend together and have no depth. A great suggestion for any contourer would be, to buy a contouring kit. They usually come with six shades (three tones of highlight, and three tones of contour).Crossdresser. These kits are great because you can test out colors to see which, you prefer and create many different looks (some softer or edgier than others). Also, it is great to have many different shades to be able to complement your fluctuating skin tones. You can get these kits in powder or cream. Whichever you prefer. Depending on if you use powder or cream, there are some tools you will need for application:

Powder: I like to use two angled medium sized brushes. One for highlight and one for contour. Having two saves me the trouble of having to clean off one brush every time I need to use a different shade. These brushes should be big enough to make thicker lines and blend but, not too big. A brush like the one to the left will work perfectly for applying your powder contour and blending. However, some brushes work better for certain people. Start testing out contours with brushes you already have and see how it goes.
**Smaller brushes will give you a more precise contour that will make your face look a lot edgier. Bigger brushes will give you a more smoother/blended look.***

Cream: Can apply with fingers, foundation brushes, or makeup sponges. The same rules that apply for the powder brushes apply to the foundation brushes (fyi). The foundation brushes (seen to the left) work great for applying cream based colors with minimal, to no streaking at all when applying. A very popular applicator that many professionals love are the Beauty Blenders (pink sponges). I hear they are excellent for blending cream colors together transgender.
Once you have all your supplies:
Before starting any contour, you must apply primer, beard cover, and foundation (in that order). You always start with your favorite primer, then apply your beard cover, then your normal (skin matching) foundation. After these steps, then you can begin contouring!

Picture by:@Makeup_by_Jackie
First, figure out your face shape. This chart will help you create a perfectly slimming contour for your personal shape. This chart will also be your guide on where to properly apply your highlights and contour in the most flattering way.
In any case, your contour color always goes under your cheek bones for a more defined/ lifted cheek appearance. The dark shadows it creates gives your face more depth, making your face appear slimmer to the eye. Apply to the top of your forehead and under your chin as well. Applying to the forehead will help frame your face and applying under your chin and around jaw line will help hide any unwanted chin (double chin) crossdressing.
Your highlights always starts under your eyes and gets pulled all the way to your hair line, above your ears. This will help hide any bags under the eyes. Depending on your face shape, apply your highlight to your forehead, lower face, and chin as well.
Take your desired brush and start blending your colors together. Make sure you blend out any harsh lines as they are unflattering. Spraying your brush or sponge with a little water sometimes helps the blending procedure. Always blend from dark to light.

To make your nose look slimmer apply your contour color starting from the bridge of your nose down. Do this on both sides of your nose. Some people apply some to the bottom of your nose as well.
Apply your highlighter in the middle of your nose between the two contour lines. Apply your highlight all the way up to your forehead breast form.
When you blend these lines together your nose will look a lot thinner due to the dark shadows the contour lines created. Refer to the above picture. Be sure to blend well, the nose is usually the hardest to blend.
So, as you can see, creating the perfect contour isn’t as hard as you thought. A couple practice rounds and I know you will be able to contour like a professional.
Need some help buying materials: We have listed below everything we offer that will help you flawlessly contour. Have fun!